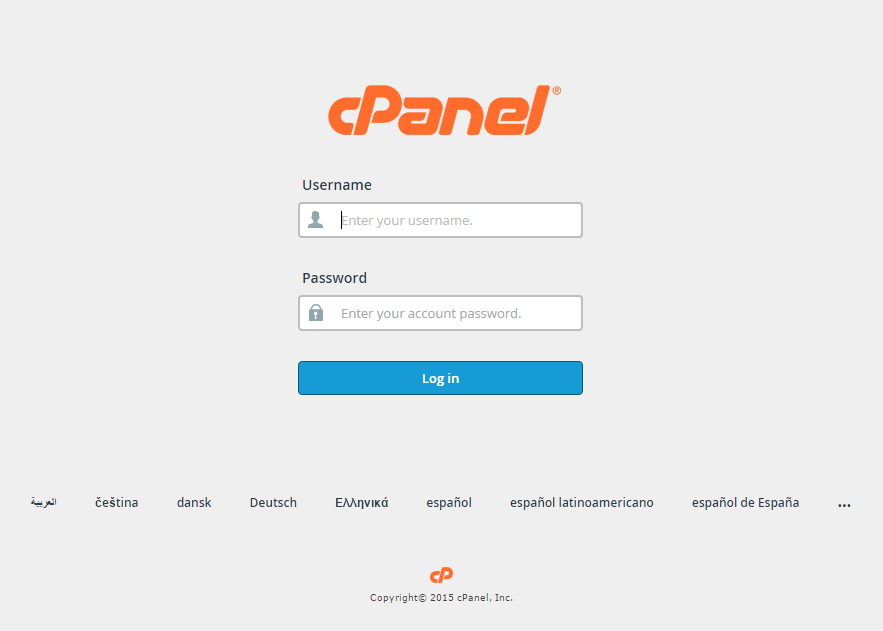
How to Generate a CSR for cPanel

1. Log In

Log in to cPanel, this can typically be accessed by going to https://domain.com:2083.
Note: You may encounter error message “Your connection is not private” or something similar when attempting to visit your cPanel login page. This is caused du
Enter your Username/Password and click Log in.
cPanel Step2

2. Navigate to cPanel Home

View your cPanel Home page.
cPanel Step3
Note: Older versions such as X3 Theme-Classic may not look like the image above, but should still contain the same concept and category structure.

3. Navigate to the SSL/TLS Manager

Navigate to the SSL/TLS Manager page by scrolling down to the Security section and select the SSL/TLS button.cPanel Step4
Note: You can also navigate to the SSL/TLS Manager page by utilizing the Search Feature at the top right of the cPanel home page and searching “SSL”.
Your SSL/TLS Manager page will allow you to manage everything related to SSL/TLS configuration for cPanel.cPanel Step5

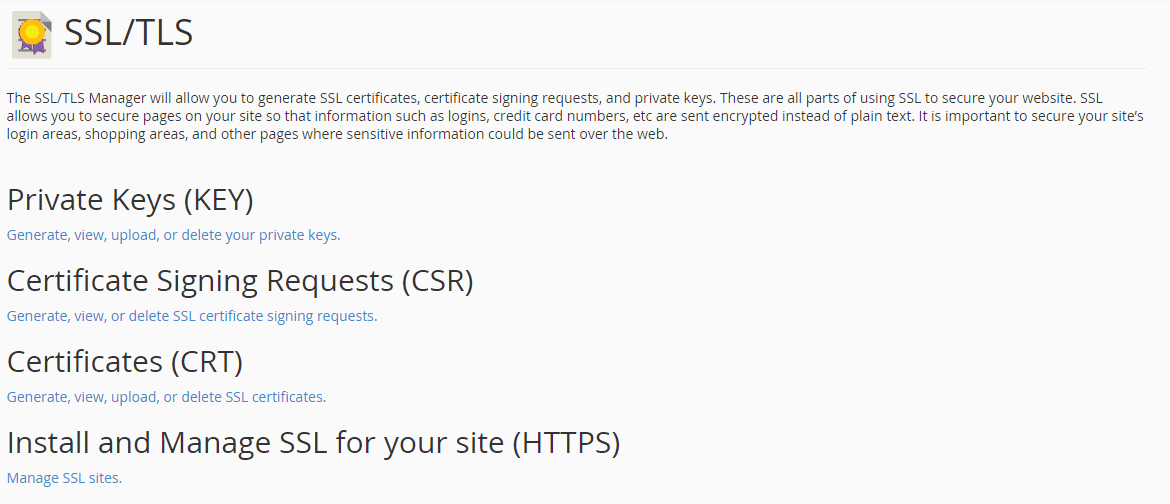
4. Select Generate view, upload, or delete SSL certificate signing requests.

Fill out the Request Form and click Create.
cPanel Step7
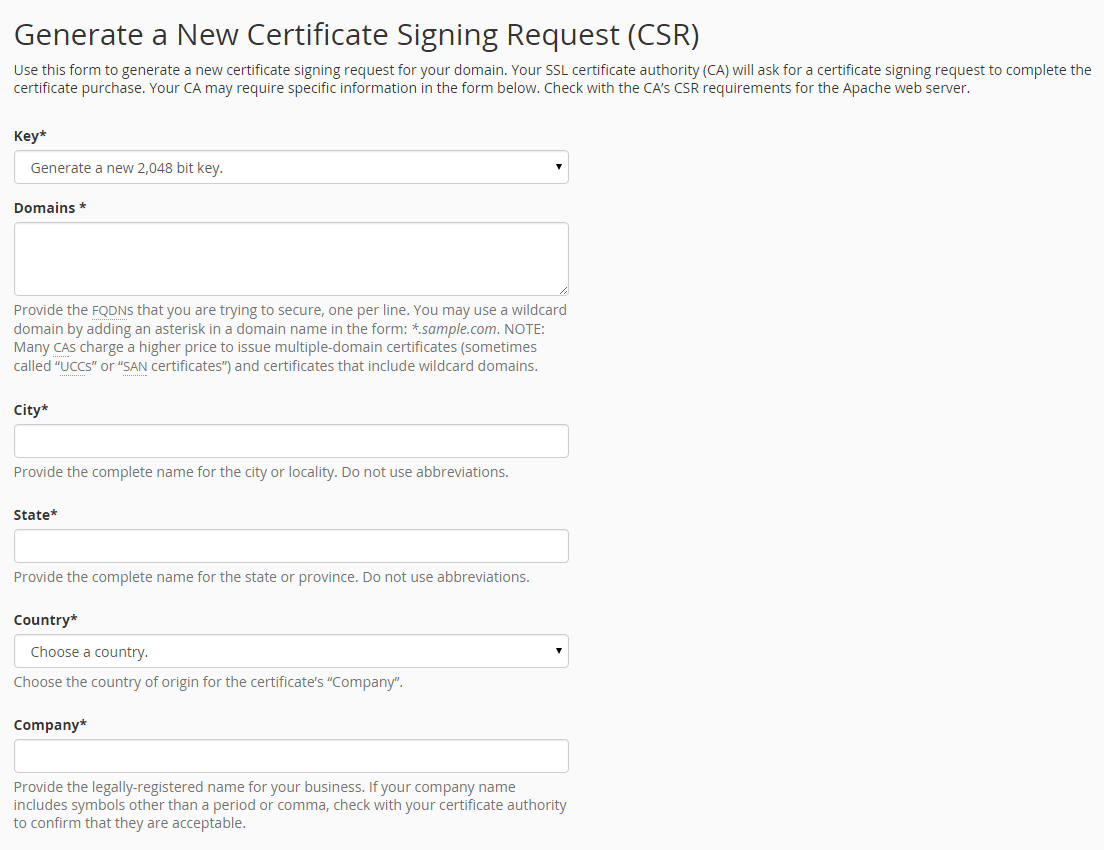
Note 1: By default, cPanel will automatically generate the corresponding private key if “Generate a new 2,048 bit key” is selected as the Key option. If you already have a private key created that you wish to use, select the Key dropdown and select the appropriate option.
Note 2: cPanel does not require a passphrase for your CSR, but does recommend inputting a description such as “CSR for www.google.com 9/13/2016” that helps distinguish this CSR going forward.
Note 3: To avoid common mistakes when filling out your CSR details, reference our Overview of Certificate Signing Request article.

5. Generate the order

Congratulations, you have created a CSR and automatically saved it in your user directory.
cPanel Step8
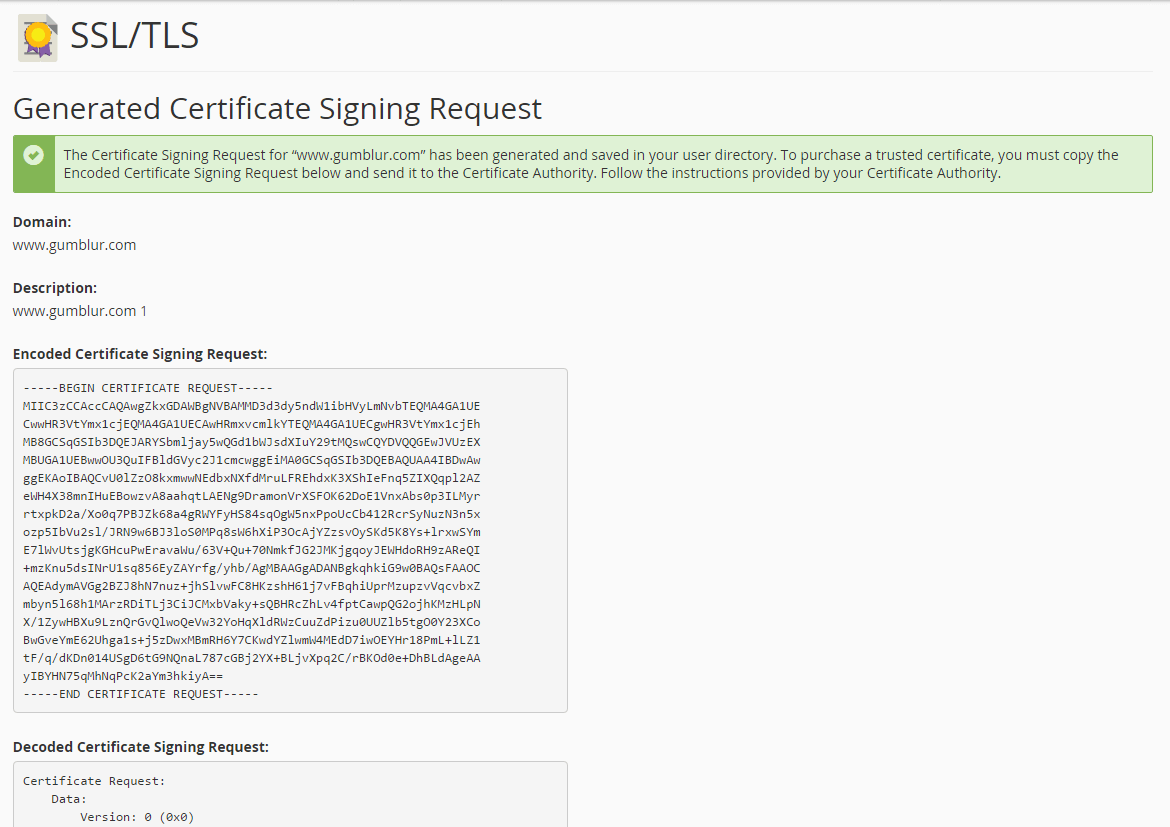
Click into the Encoded Certificate Signing Request text box that’s presented after generation, and copy all of the text including:
-----BEGIN CERTIFICATE REQUEST-----
And
-----END CERTIFICATE REQUEST-----
Return to the Generation Form back on our website and paste the entire CSR into the blank text box and continue with completing the generation process.
Upon generating your CSR, your order will enter the validation process with the issuing Certificate Authority (CA) and require the certificate requester to complete some form of validation depending on the certificate purchased.

Comments

Popular posts from this blog

Know more about Nich Cloud ..

Overview In this article we will take a step back from my typical technical discussions and how-to guides to think about the path that lies ahead of us, in our industry. Today we have a very polarizing environment, similar in fact to the US political system.  On one side you have extremely customized on-premise environments that serve specific purpose or business niches but on the whole are hard, if not impossible to maintain and very costly. On the other side you have generic public cloud, infrastructure that always works (well almost, nothing is perfect), scales and is available at click of a button with predictable pricing structure but doesn’t fit specific purpose by default. The industry has for many years recognized these worlds were growing further apart and defined the solution as hybrid cloud management to manage them or even bridge the worlds. But gluing two polarized worlds together was only ever destined to fail. Hybrid cloud, which often drags with it the management,

Now Intel® Core™ i7-8700 Hexa-Core Coffee Lake Servers available

                   Intel® Core™ i7-8700 Hexa-Core Coffee Lake incl. Hyper-Threading Technology Servers are available at www.vcclhosting.com and www.vcclcloud.com .         High Speed and extra Storage space with Hyper threading technology gives extra powerful speedy server ,Start today and power up your business with VCCL Dedicated Servers. Dedicated Root Server Pricing SERVER CPU RAM DISK LOCATION PRICING ORDER DS1-Intel®Core™i7-6700 Quad-Core Skylake 32 GB DDR4 SSD 2x500 GB EUROPE $125/mo CONFIGURE DS2-Intel®Core™i7-6700 Quad-Core Skylake 32 GB DDR4 HHD 2x4 TB EUROPE $145/mo CONFIGURE DS3-Intel®Core™i7-6700 Quad-Core Skylake 64 GB DDR4 SSD 2x 250 GB EUROPE $165/mo CONFIGURE DS4-Intel®Core™i7-6700 Quad-Core Skylake 64 GB DDR4 HHD 2x 2 TB EUROPE $185/mo CONFIGURE DS5-AMD Ryzen 7 1700X Quad-Core "Summit Ridge" 64 GB DDR4 SSD 2x 500 GB EUROPE $199/mo CONFIGURE DS6-Intel® Xeon® E3-1270 v3 Quad-Core Haswell 32 GB DDR4 HHD 4x 10 TB EUROPE $ 145/m

How to SSH to the VM instance in OpenStack

Alright, so now you have purchased Dedicated Server at www.vcclhosting.com and OpenStack installed and running. Now what? Of course the first thing you want to do is create a Virtual Machine Instance you can play with. But hold your ponies little boy, you might want to read on first, as you might not be able to connect to any of your VMs if you did not read carefully! Common Mistake! It is a common behavior of a new OpenStack user upon logging into dashboard to create a new instance via the menu w/o setting up a new Key Pair first. If you didn't attach a key pair in your VM instance, you will not be able to connect to it! So the first thing you might want to do is create a new Key Pair. This is basically a PEM file that you are going to use in able to authenticate to the server instead of shoving your usename/password in the SSH console. Wtf is PEM? PEM is a file format that may consist of a certificate (aka. public key), a private key or indeed both concatenated to