The following instructions will guide you through the SSL installation process on Web Host Manager (WHM). If you have more than one server or device, you will need to install the certificate on each server or device you need to secure. If you still have not generated your certificate and completed the validation process, reference our CSR Generation Instructions and disregard the steps below.
What You’ll Need
1. Your server certificate
This is the certificate you received from the CA for your domain. You may have been sent this via email. If not, you can download it by visiting your Account Dashboard and clicking on your order.
2. Your intermediate certificates
These files allow the devices connecting to your server to identify the issuing CA. There may be more than one of these certificates. If you got your certificate in a ZIP folder, it should also contain the Intermediate certificate(s), which is sometimes referred to as a CA Bundle. If not, download the appropriate CA Bundle for your certificate.
3. Your private key
This file should be on your server, or in your possession if you generated your CSR from a free generator tool. On certain platforms, such as Microsoft IIS, the private key is not immediately visible to you but the server is keeping track of it.
Installation Instructions
1. Log in to WHM
Log in to WHM, this can typically be accessed by going to https://domain.com:2087.
Note: You may encounter error message “Your connection is not private” or something similar when attempting to visit your WHM login page. This is caused due to your login page using a self-signed certificate by default. Please disregard this and proceed past the error message.
2. Enter Username/Password
Enter your Username/Password and click Log in.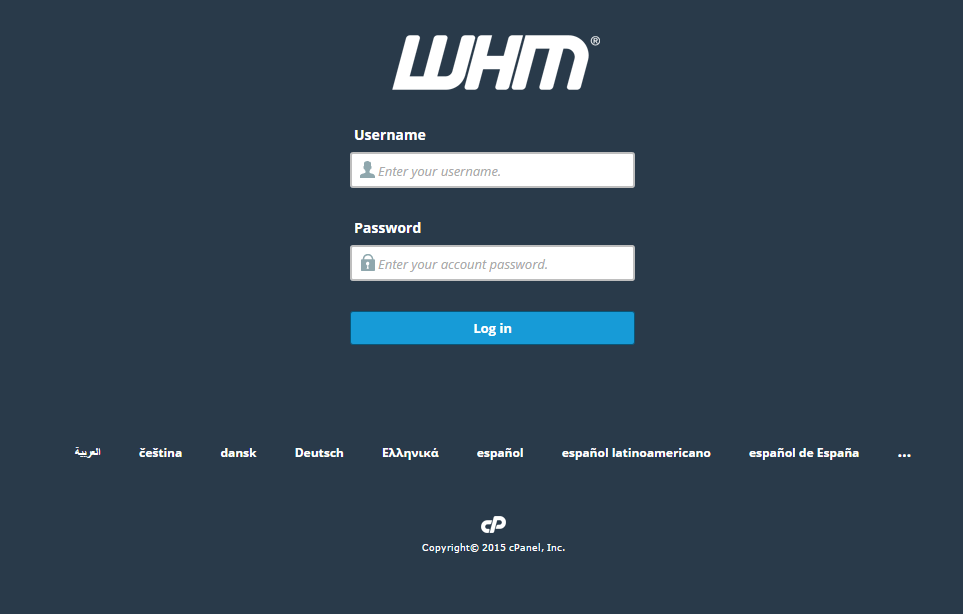
3. Go to your Homepage
Make sure you’re on your WHM Homepage.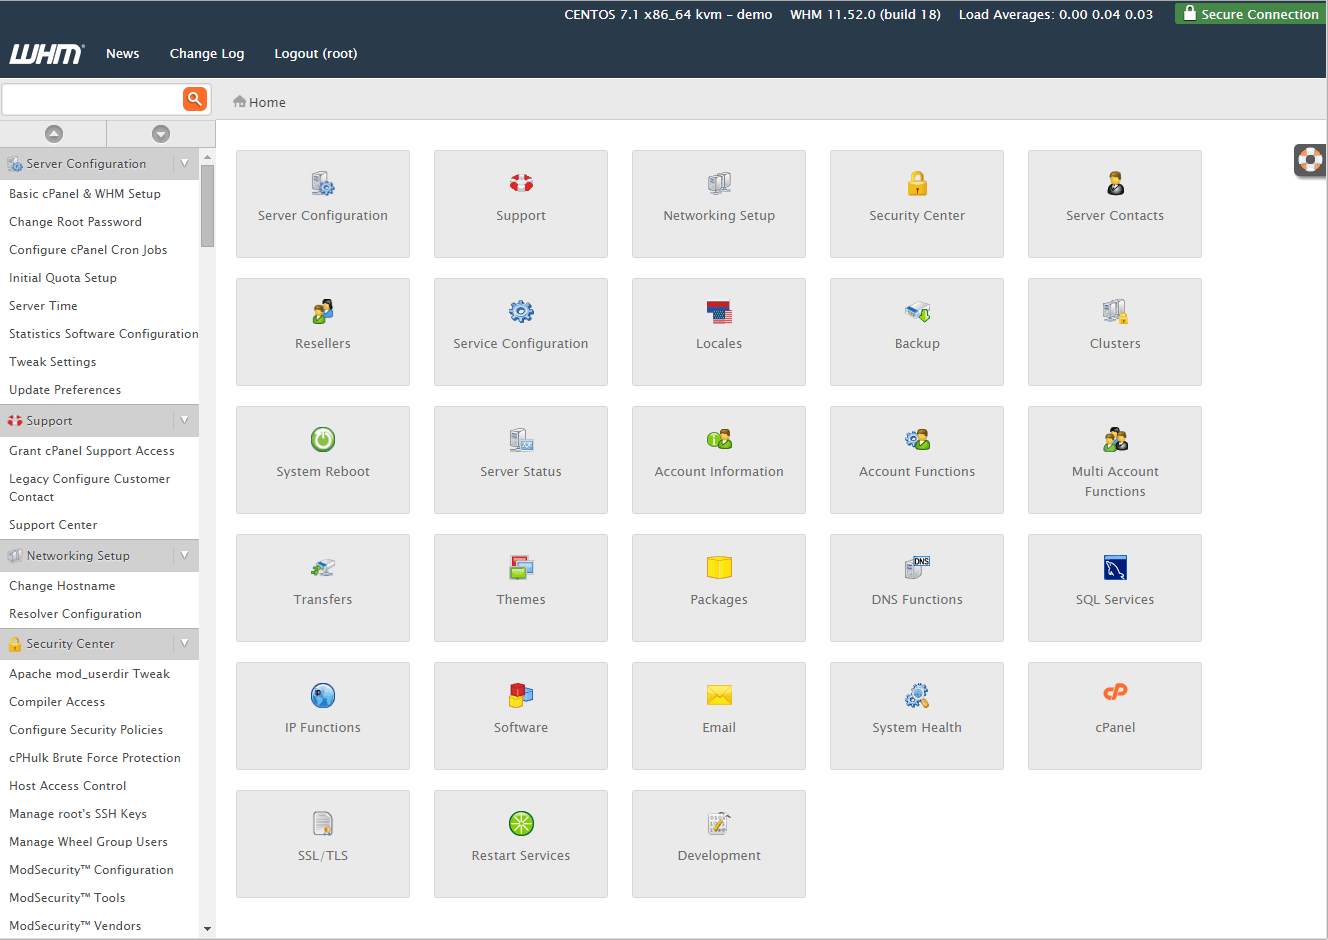
4. Click SSL/TLS
Click the SSL/TLS button.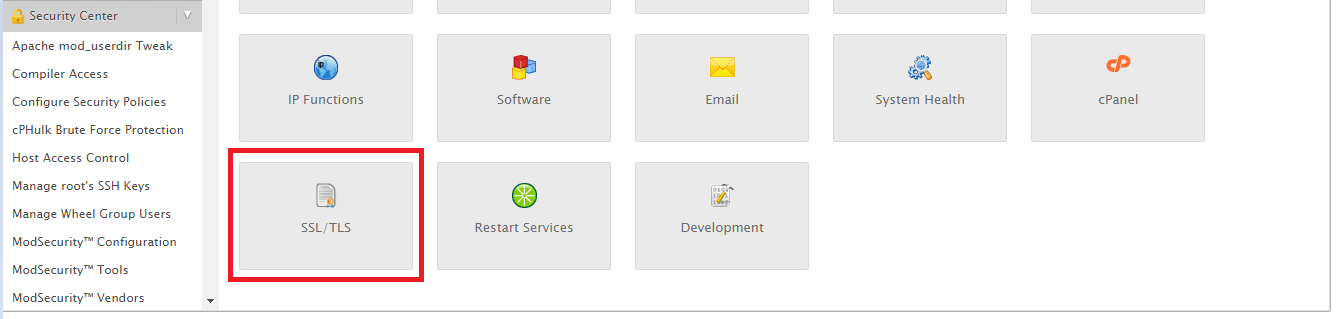
5. Click Install an SSL Certificate on a Domain
In your SSL/TLS Manager page, click Install an SSL Certificate on a Domain.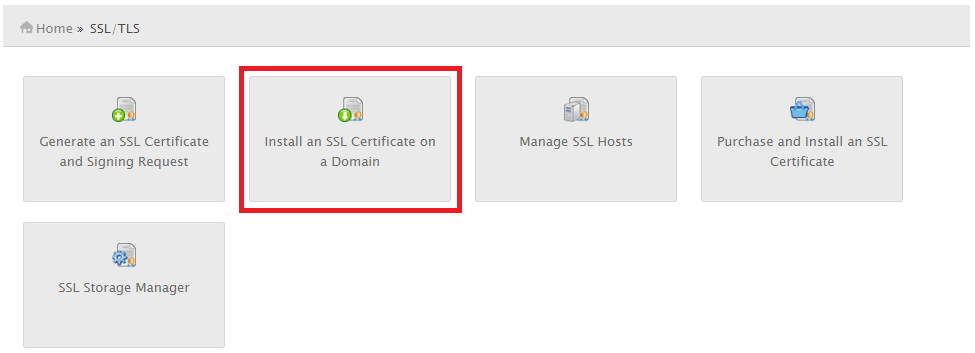
6. Type in your domain name
In the Domain field, type the domain name you want to secure with your SSL Certificate.
7. Input your Certificate Files
Copy and paste your Certificate Files into the appropriate text box(s).
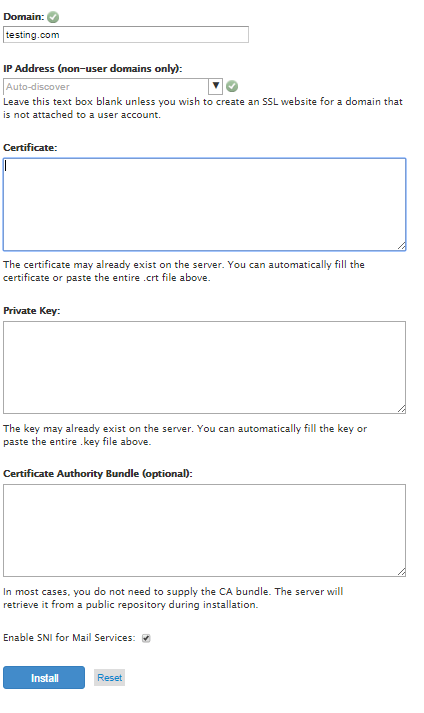
- Certificate – This is your server certificate that was issued to your domain(s).Note 1:WHM should automatically fetch the Certificate (CRT) text if you previously uploaded the server certificate on the server and entered the correct domain name above. Note 2: If you received the certificate in a ZIP file, click “Extract All” and then drag your server certificate into a text editor such as Notepad. This will allow you to copy all text contents needed including “—–BEGIN CERTIFICATE—–” and “END CERTIFICATE—–“.
- Private Key – This is your private key that was created during the generation process.Note 1: WHM should automatically fetch the Private Key text if you previously created the Certificate Signing Request (CSR) in the “Generate an SSL Certificate and Signing Request” section of your SSL/TLS Manager and entered the correct domain name above.Note 2: If you made the CSR and private key outside of your WHM account and failed to save the files, you will have problems proceeding and may need to re-issue the SSL certificate with a newly created key pair.
- Certificate Authority Bundle (optional) – These are your intermediate certificates that allow browsers and devices to understand who issued your trusted certificate.Note 1:WHM automatically fetch the CA Bundle from a public repository. If you forgot to save these files, download the appropriate CA/Chain Certificate for your certificate. Note 2: If you have multiple intermediate certificates, paste each of them one after another to create the correct certificate chain/path.
8. Click Install
Once you’ve inpuuted the Certificate Files into the correct boxes, click Install.
Note 1: You are not required to “Enable SNI for Mail Services”. Server Name Indication (SNI) should only be used if multiple hostnames are being server over HTTPS from the same IP address.
Note 2: You or your web host may need to restart the Apache server before the certificate will work.
Congratulations! You’ve successfully installed your SSL certificate! To check your work, visit the website in your browser at https://yourdomain.tld and view the certificate/site information to see if HTTPS/SSL is working properly. Remember, you may need to restart your server for changes to take effect.
To check your server’s configurations more thoroughly, use our SSL Checker Tool or contact our Customer Experience Department for additional assistance.
Manual Intermediate Installation Instructions
If the intermediate certificates did not successfully install and configure themselves accordingly using the instructions above, please reference the instructions below on how to manually install them directly in Apache. If you do not have access to your Apache server, please contact your web host or system administrator for additional assistance.
1. Locate the Virtual Host File
Locate the Virtual Host File, this can typically be accessed in the /etc/httpd/conf/httpd.conf file.Note: The location and name of this file can change from server to server depending on your configuration. Another popular name for the file is “SSL.conf”.
2. View the Virtual Host File
View the Virtual Host configuration with the proper name & IP address (including port 443).
3. Edit your Virtual Host
Edit your Virtual Host configuration by adding the bolded Your Intermediate Certificate file below:
  DocumentRoot /var/www/html2
  ServerName www.yourdomain.com
  SSLEngine on
  SSLCertificateFile /path/to/your_domain_name.crt
  SSLCertificateKeyFile /path/to/your_private.key
  SSLCertificateChainFile /path/to/YourIntermediateCertificate.crt
Note: Make sure you type the correct file path and name where you plan on saving the intermediate certificates. You should save these certificates in the same directory that cPanel has your server certificate and private key stored.
4. Save the changes
Save the configuration file changes.
5. Add the intermediate certificate
Add the intermediate certificate file to the same directory that cPanel has your server certificate and private key stored.
6. Restart your server
Restart your Apache server.
Comments
Post a Comment